Class is held VIRTUALLY July 16th-19th, 2026, 10am - 5pm each day (our booking system only reflects the start day)
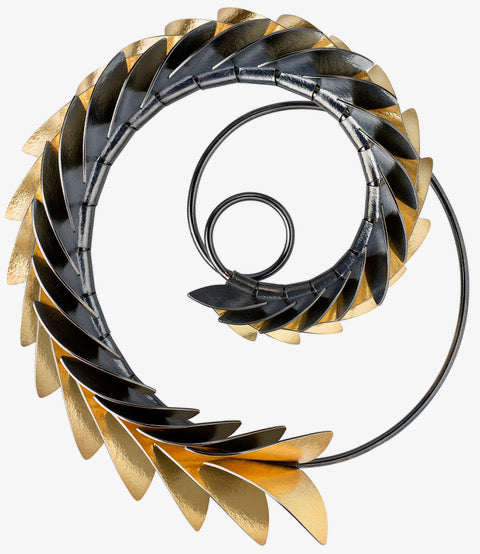
Take your designs from flat to three-dimensional with this in-depth workshop from Jayne Redman. Learn the innovative design and assembly concepts that Jayne has developed over 40-plus years of metalsmithing. Jayne will teach you the principles behind centrally radiating forms, properly nested forms, spacing for slotted forms, faux hinge assembly, and tab construction. She will demonstrate how she utilizes her computer as a design tool and show you how to replicate the same steps manually. Learn how to make blanking (pancake) dies to quickly cut out the shapes you develop in class and get lost in the process of experimenting with forming and assembly. Speed up your production or incorporate identical shapes in one-of-a-kind pieces.
Techniques taught:
This class pairs well with the Prototype to Production: Forming for Multiples
Kit fee – payable to Jayne Redman Online: $175 including shipping
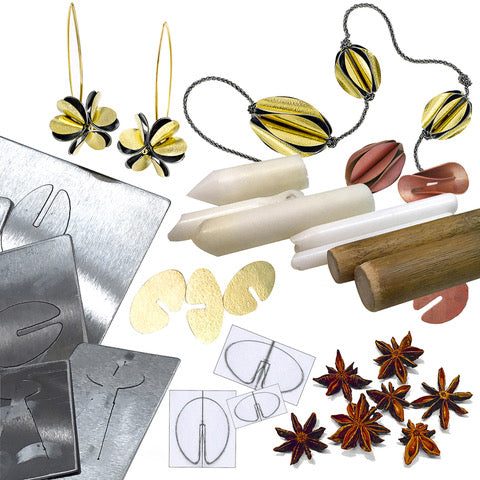
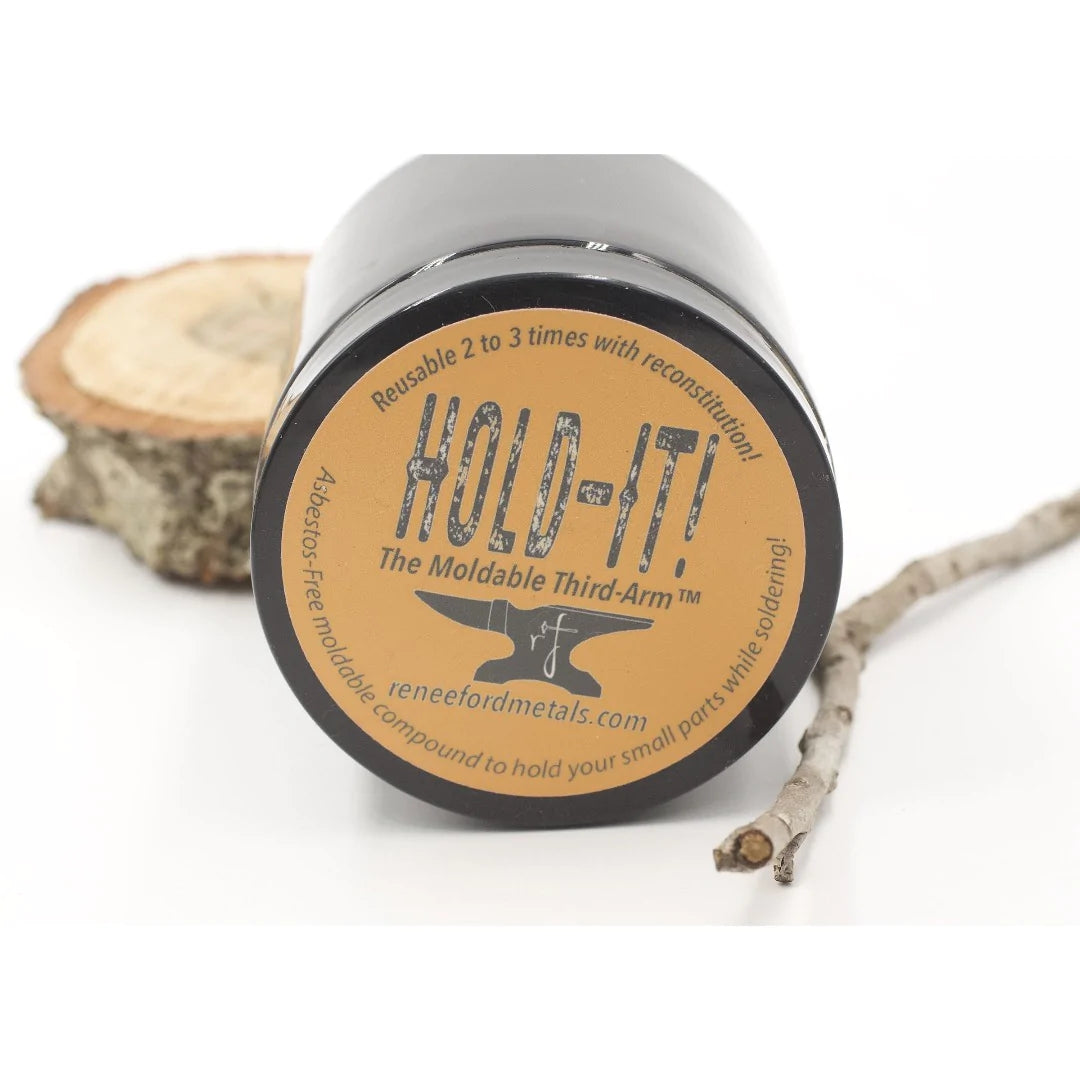
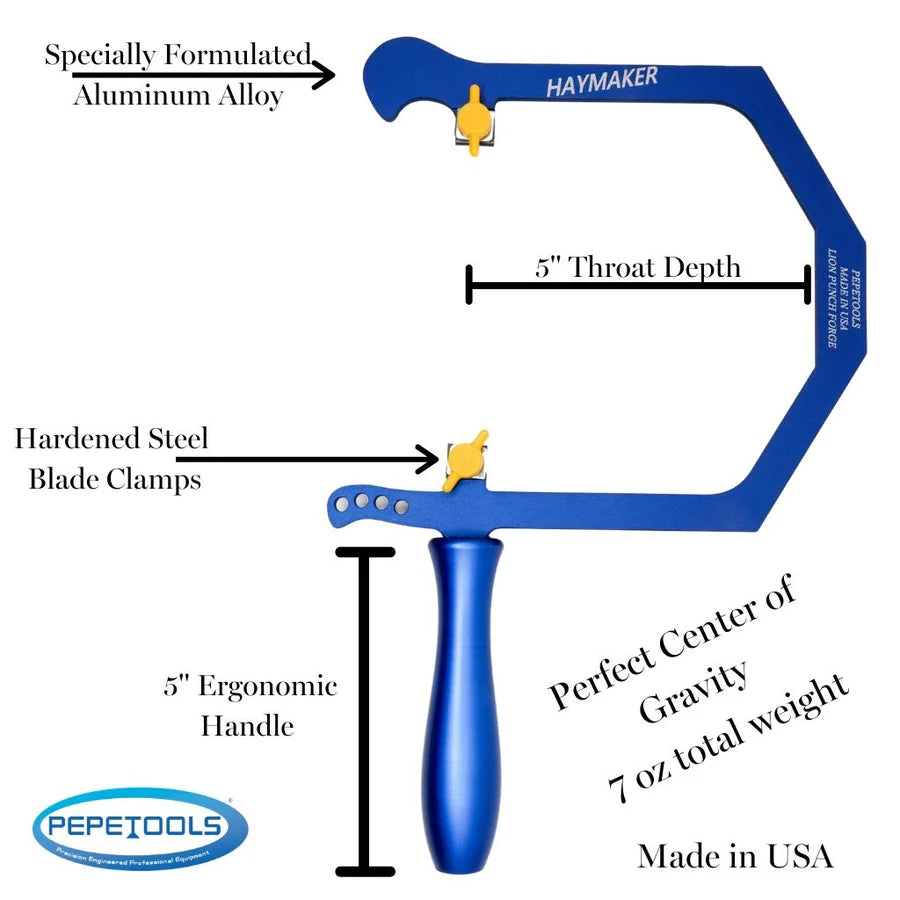
Tools and Materials for this Class: Rio Grande links are used for examples
Optional:
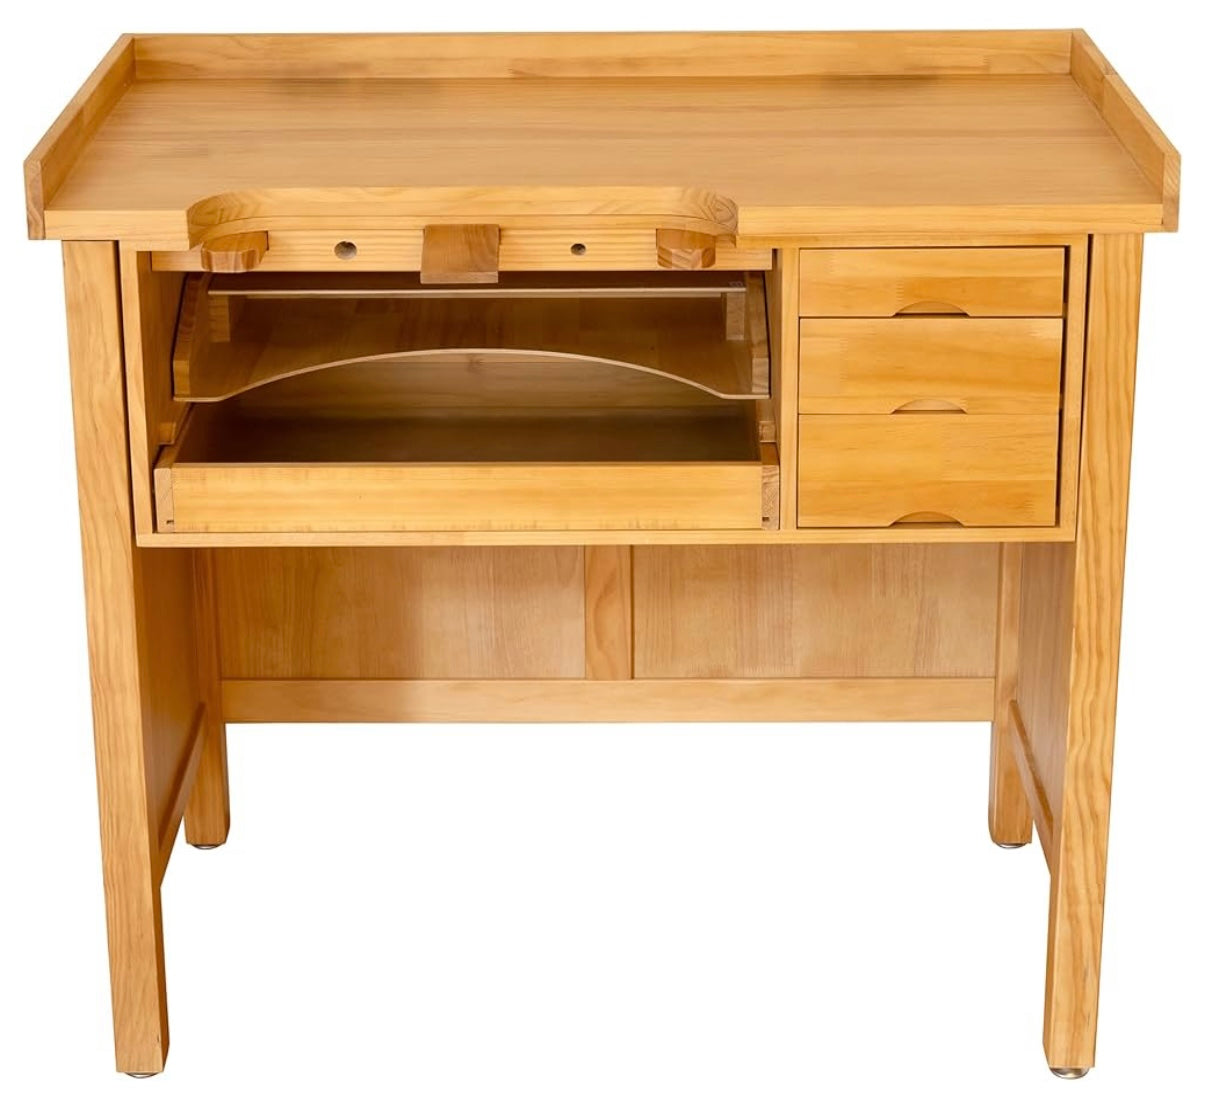
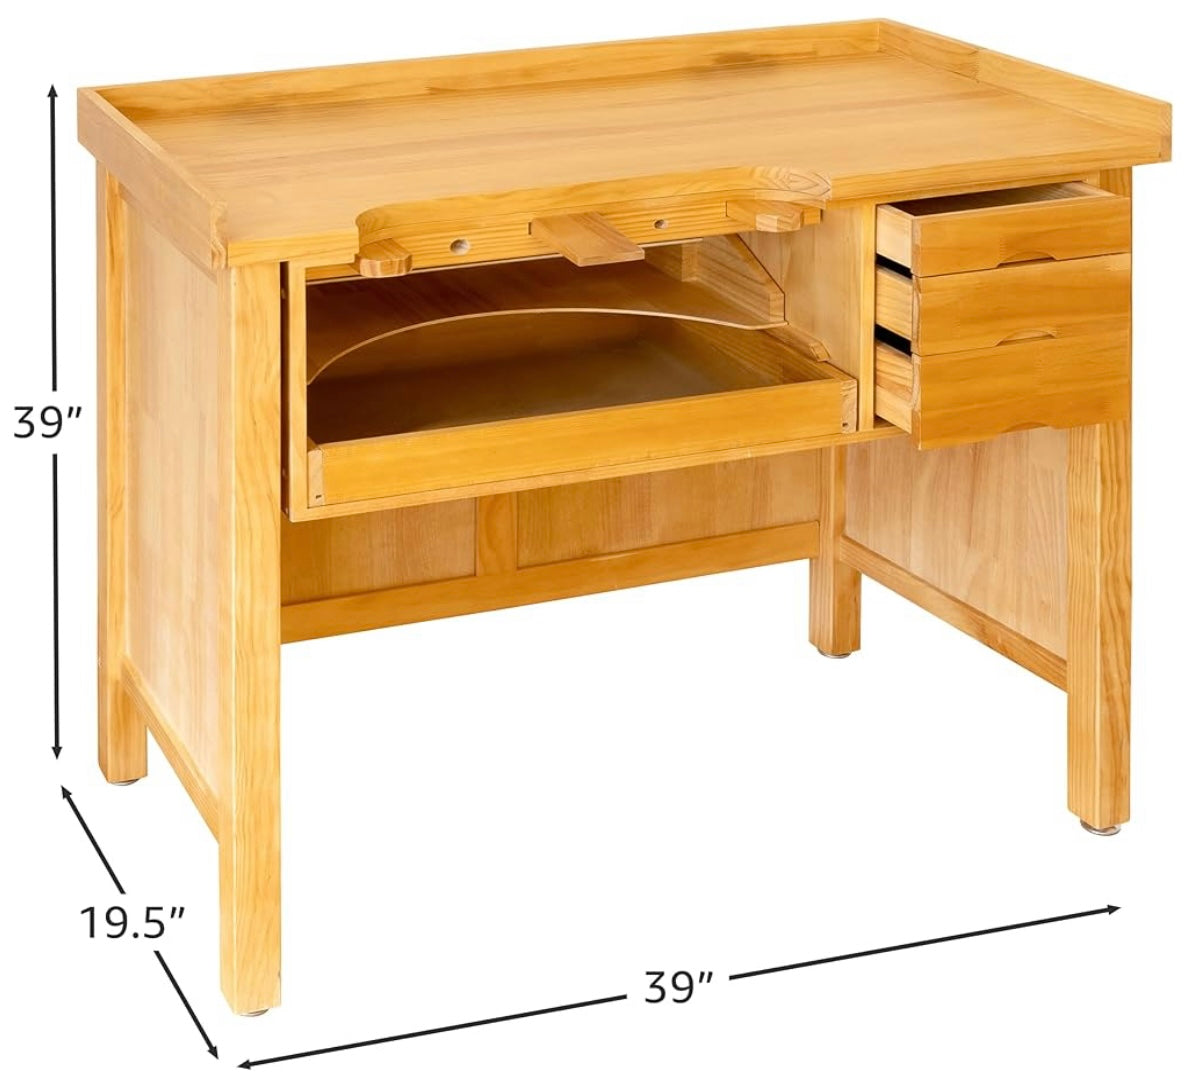
Studio Tools:
Rental Fees: